
Intro
In this tutorial I will roughly explain how you can transform a Blazer into the system I created for the Identity.exe project. This process can be used for basically any clothing that you have lying around or buy second hand.
I hope to make it as clear and simple as possible so that anyone can do this. Fashion/self-expression is something that anyone should be able to participate in.
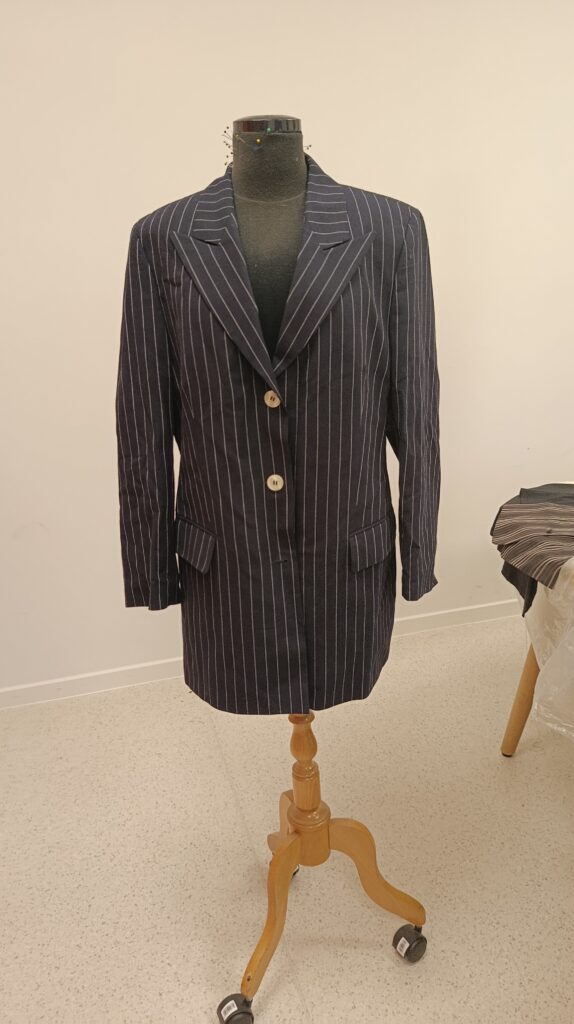
This is the second-hand Blazer with which I’ll demonstrate the proces.
Cutting the second hand clothing to usable pieces.
The first thing that needs to be done is splitting the piece in smaller pieces that then can be cut more precisely. In the system that I created I split the top garment first into two front panels and two back panels.
The first step is to simply lay out the piece flat on a table and get your siccors ready.
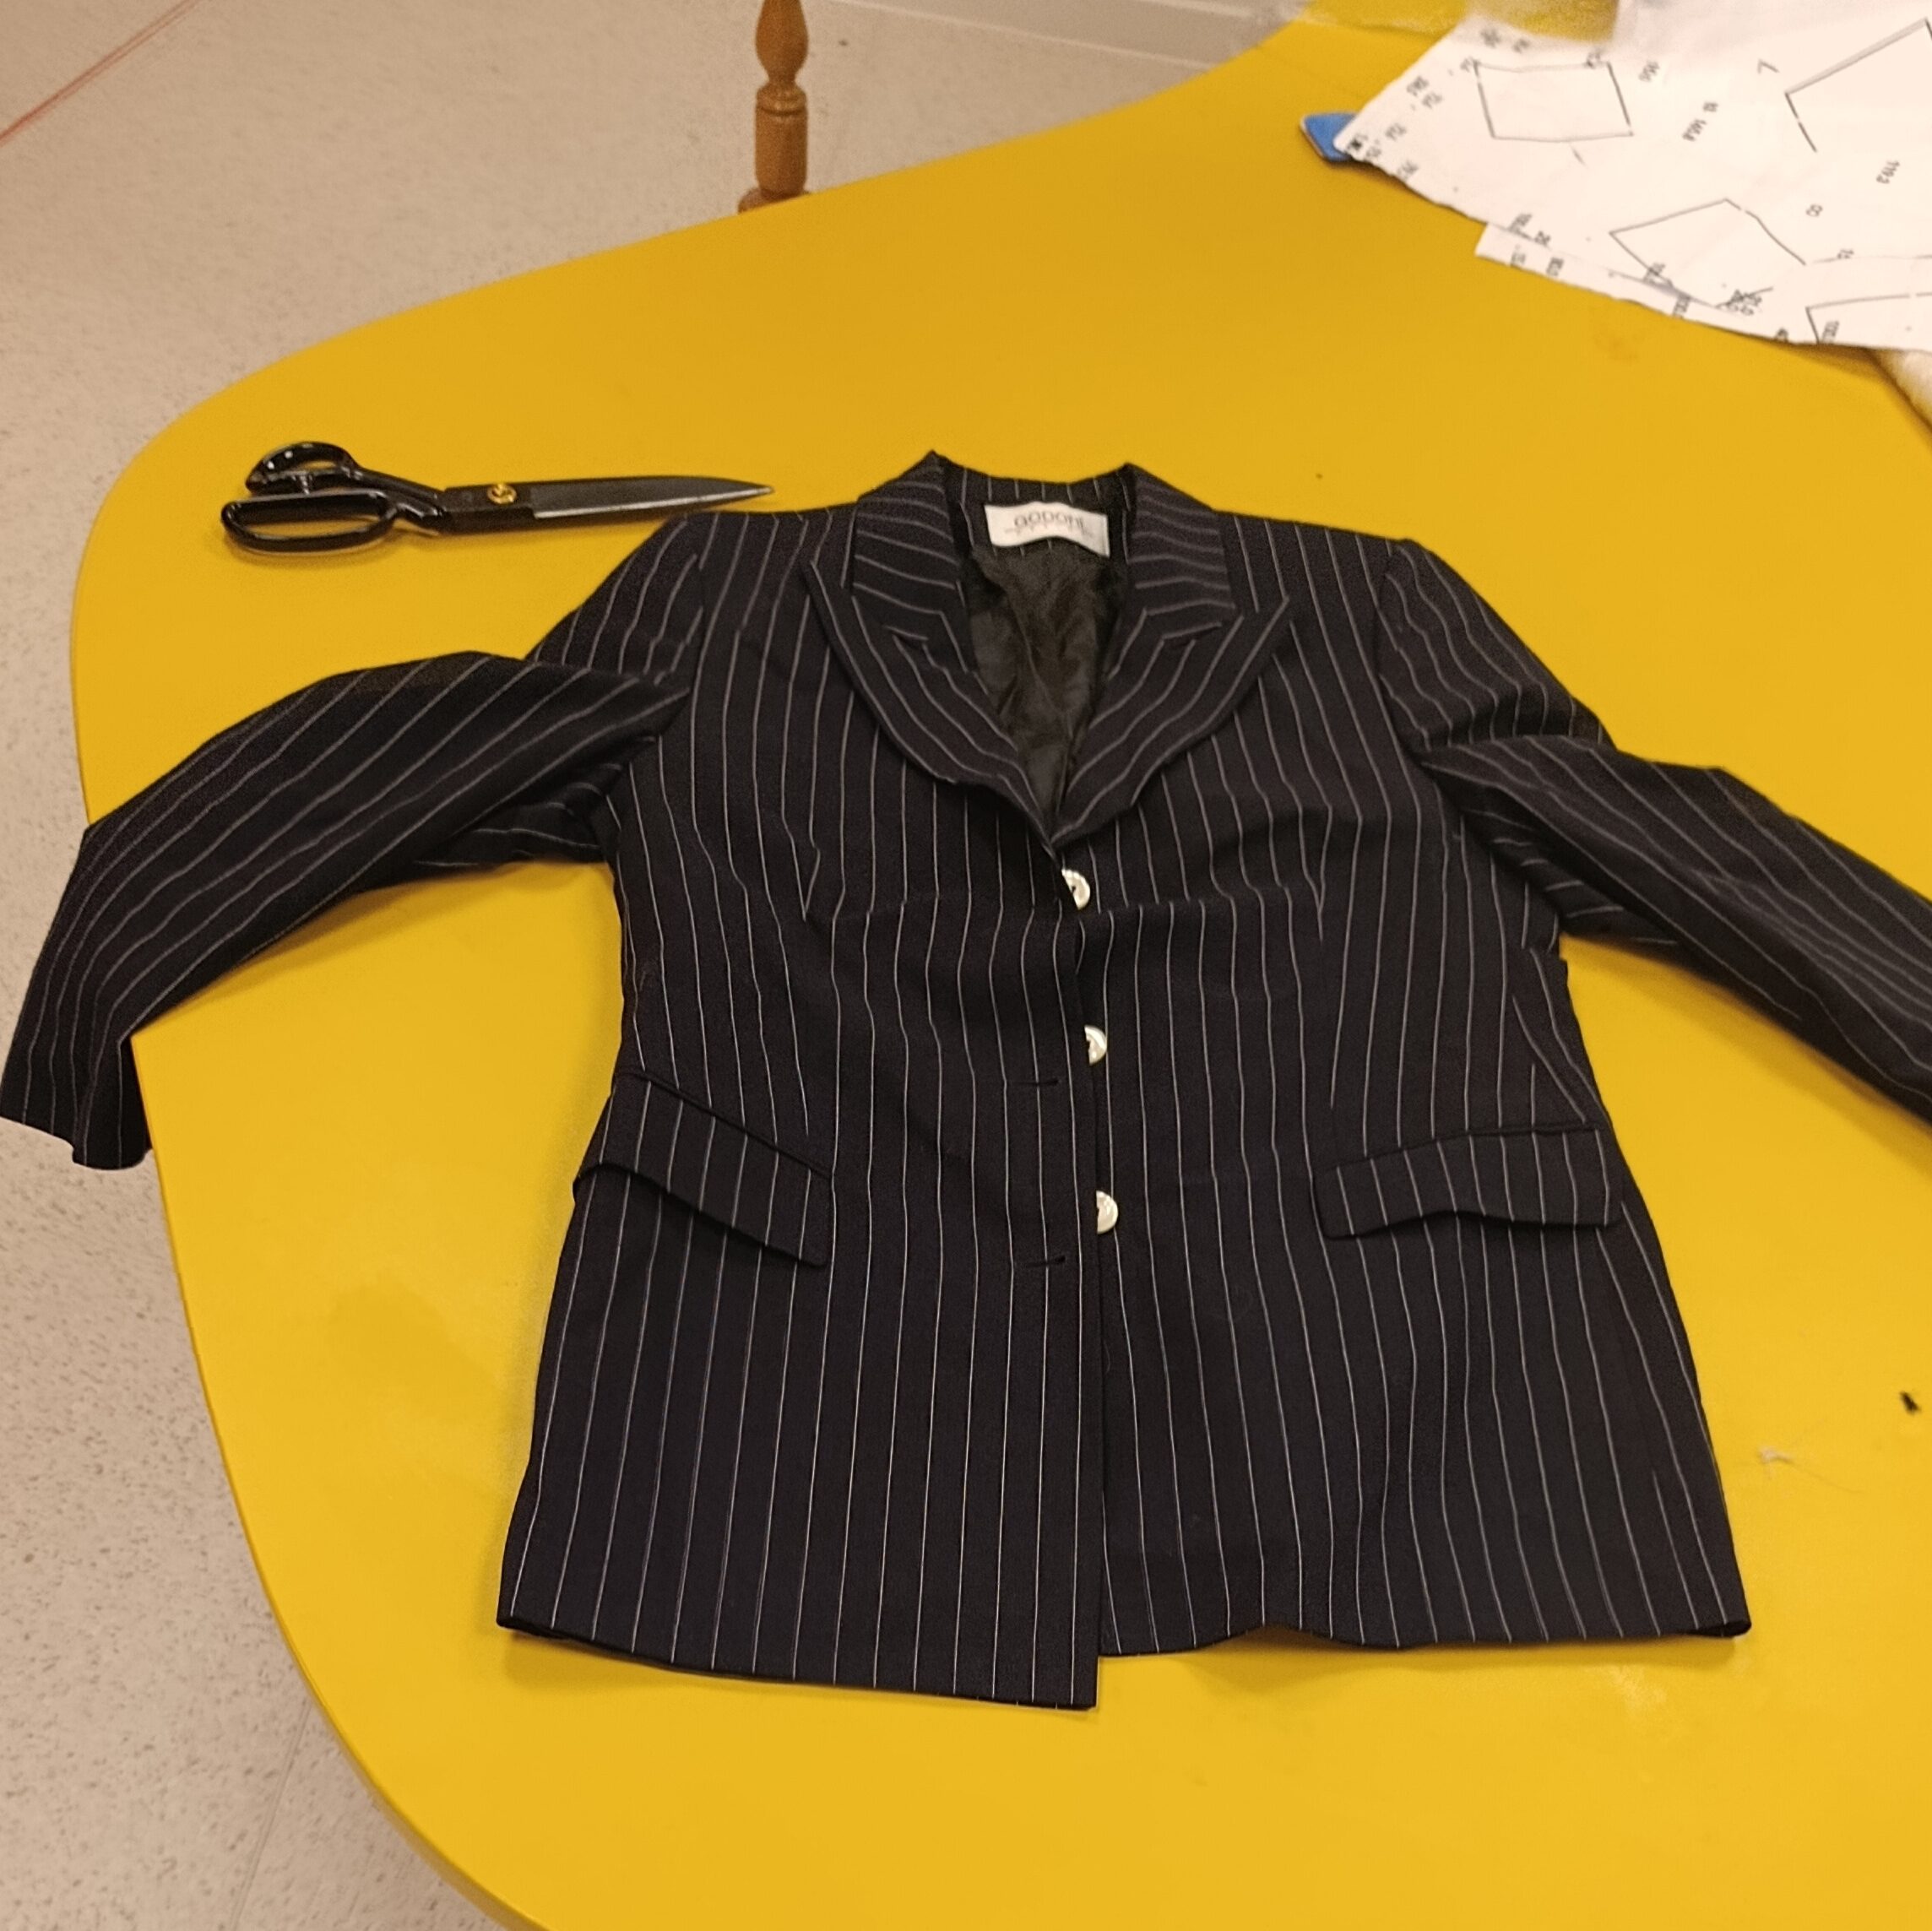
Then you’ll need to cut out the sleeve. When cutting, make sure to cut on the side of the bodice from the seam. This way you’ll get a “clean” edge. The easiest way to do this is by first making a small cut where the armpit would sit. From that small cut you can cut further all around the armhole.
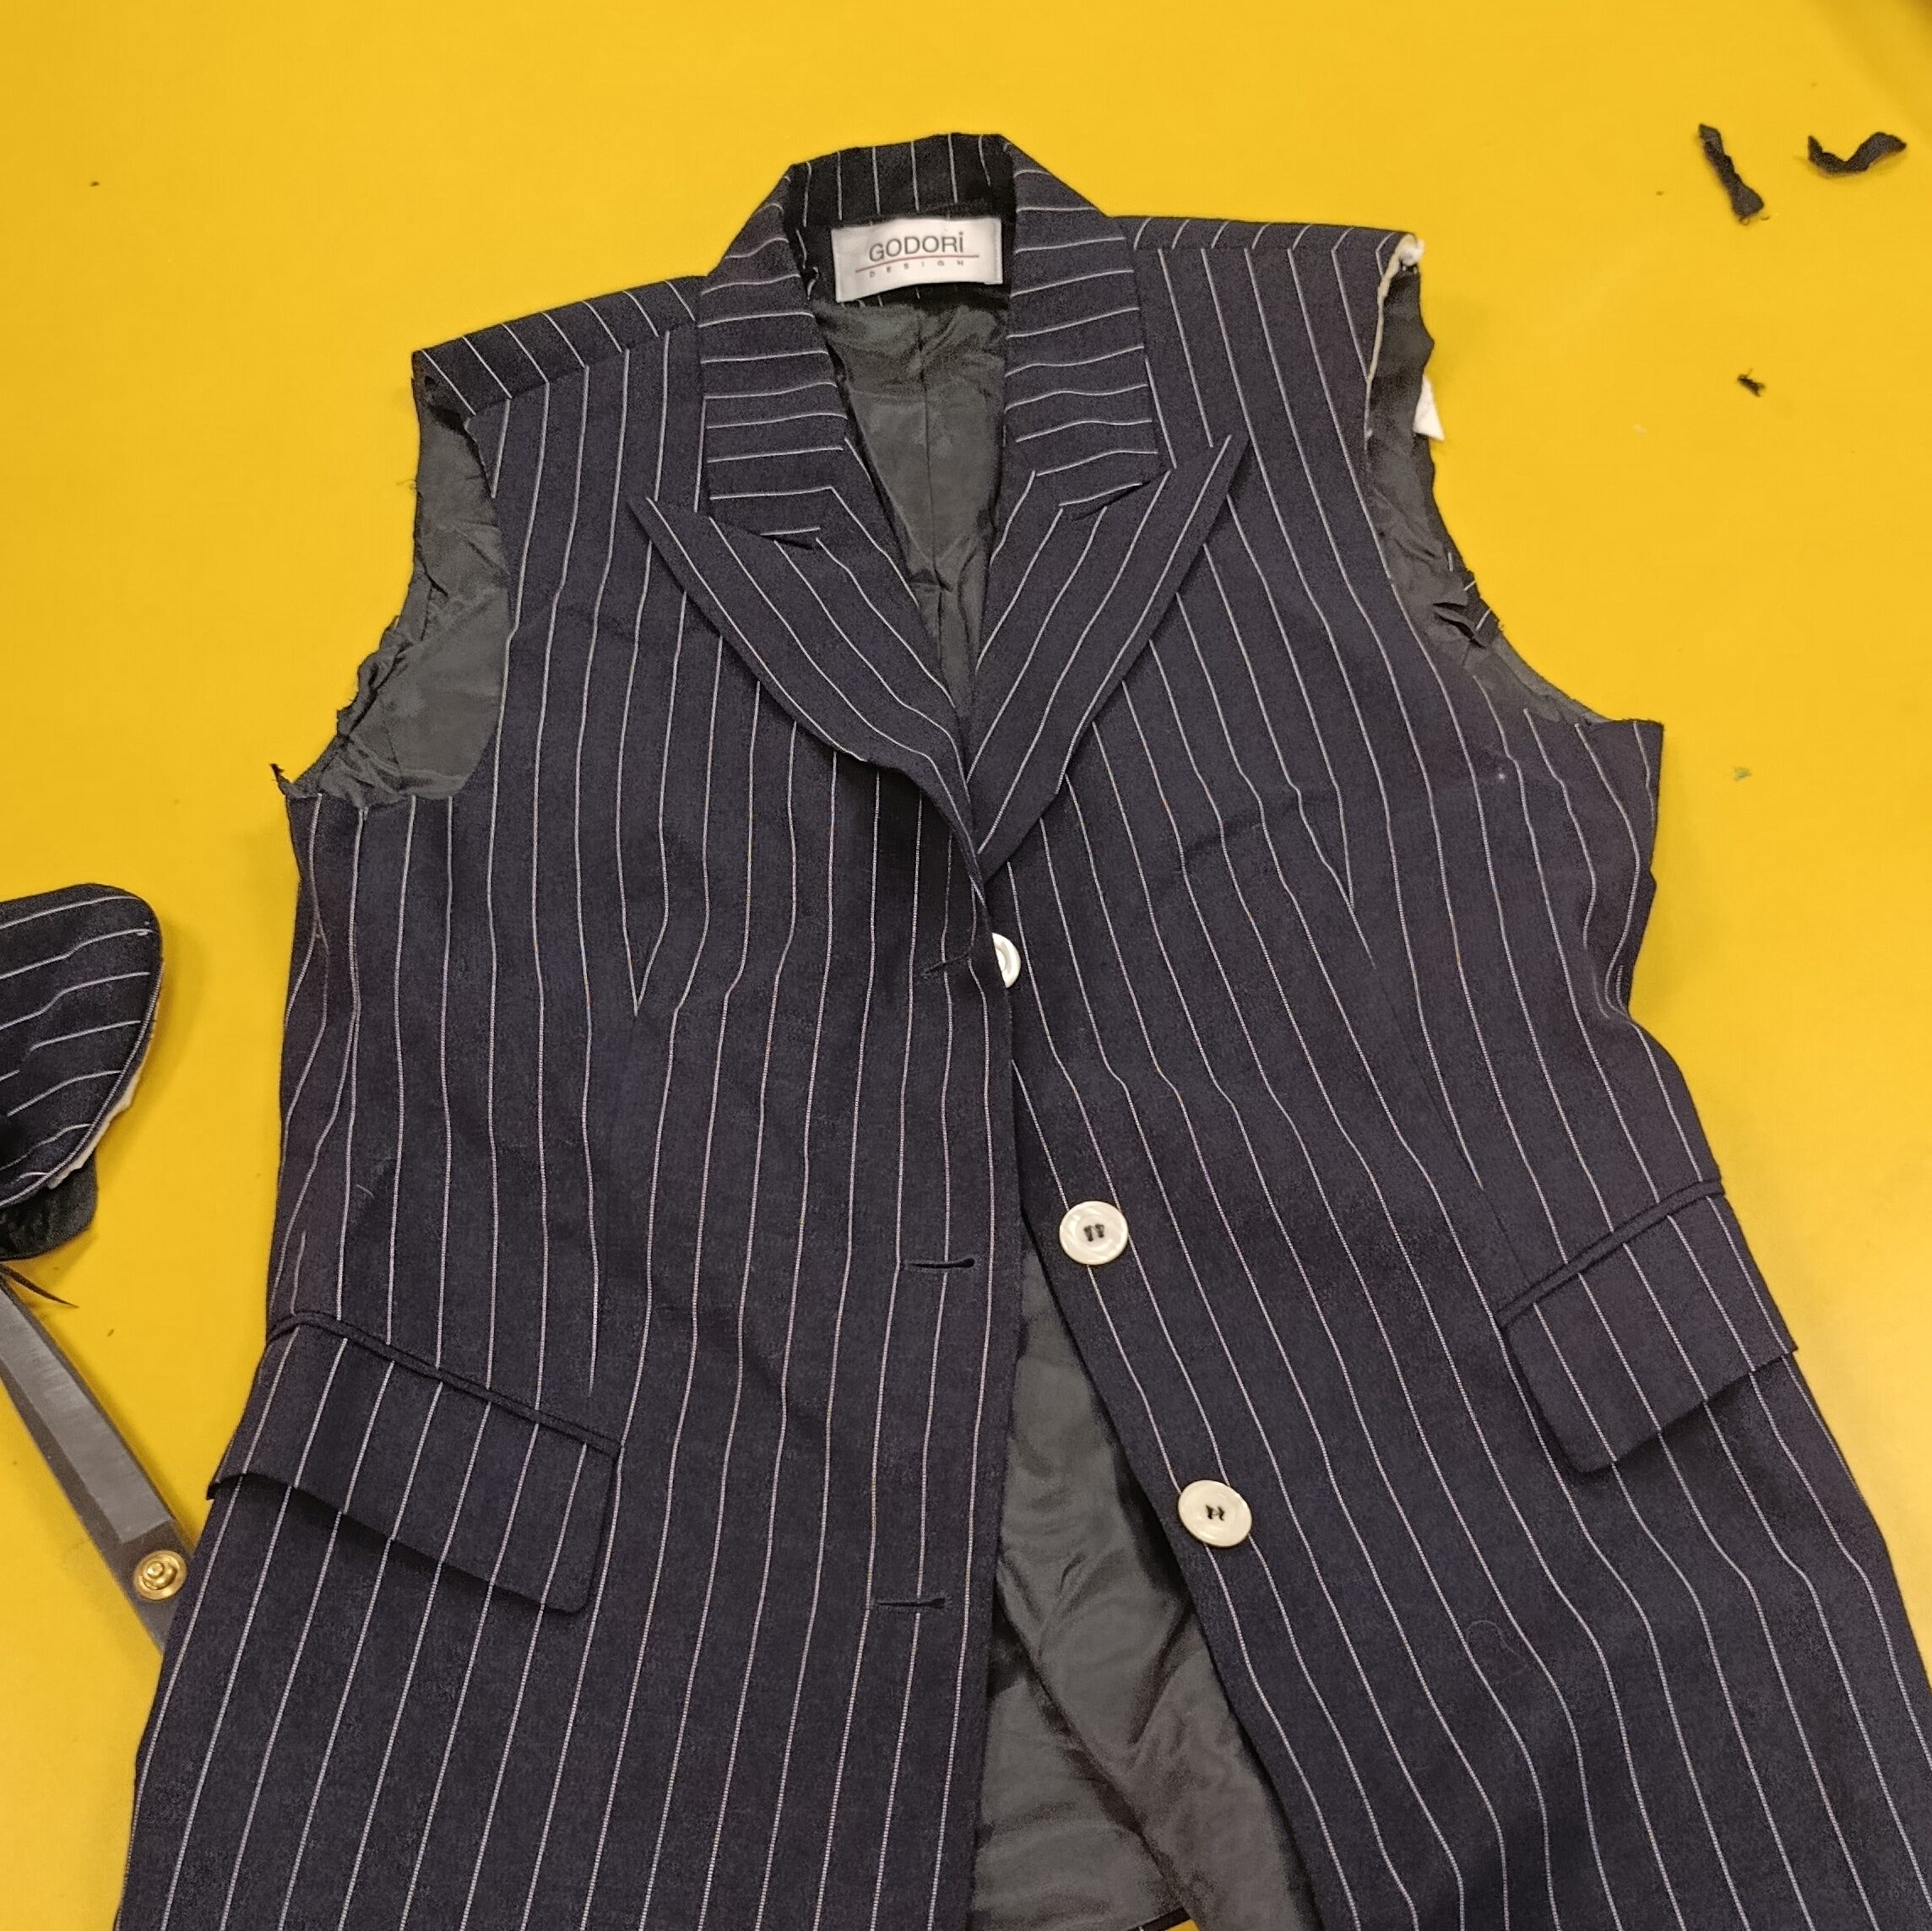
Now that the sleeves are cut out you need to cut the shoulder seam. You can just cut nicely along this seam.
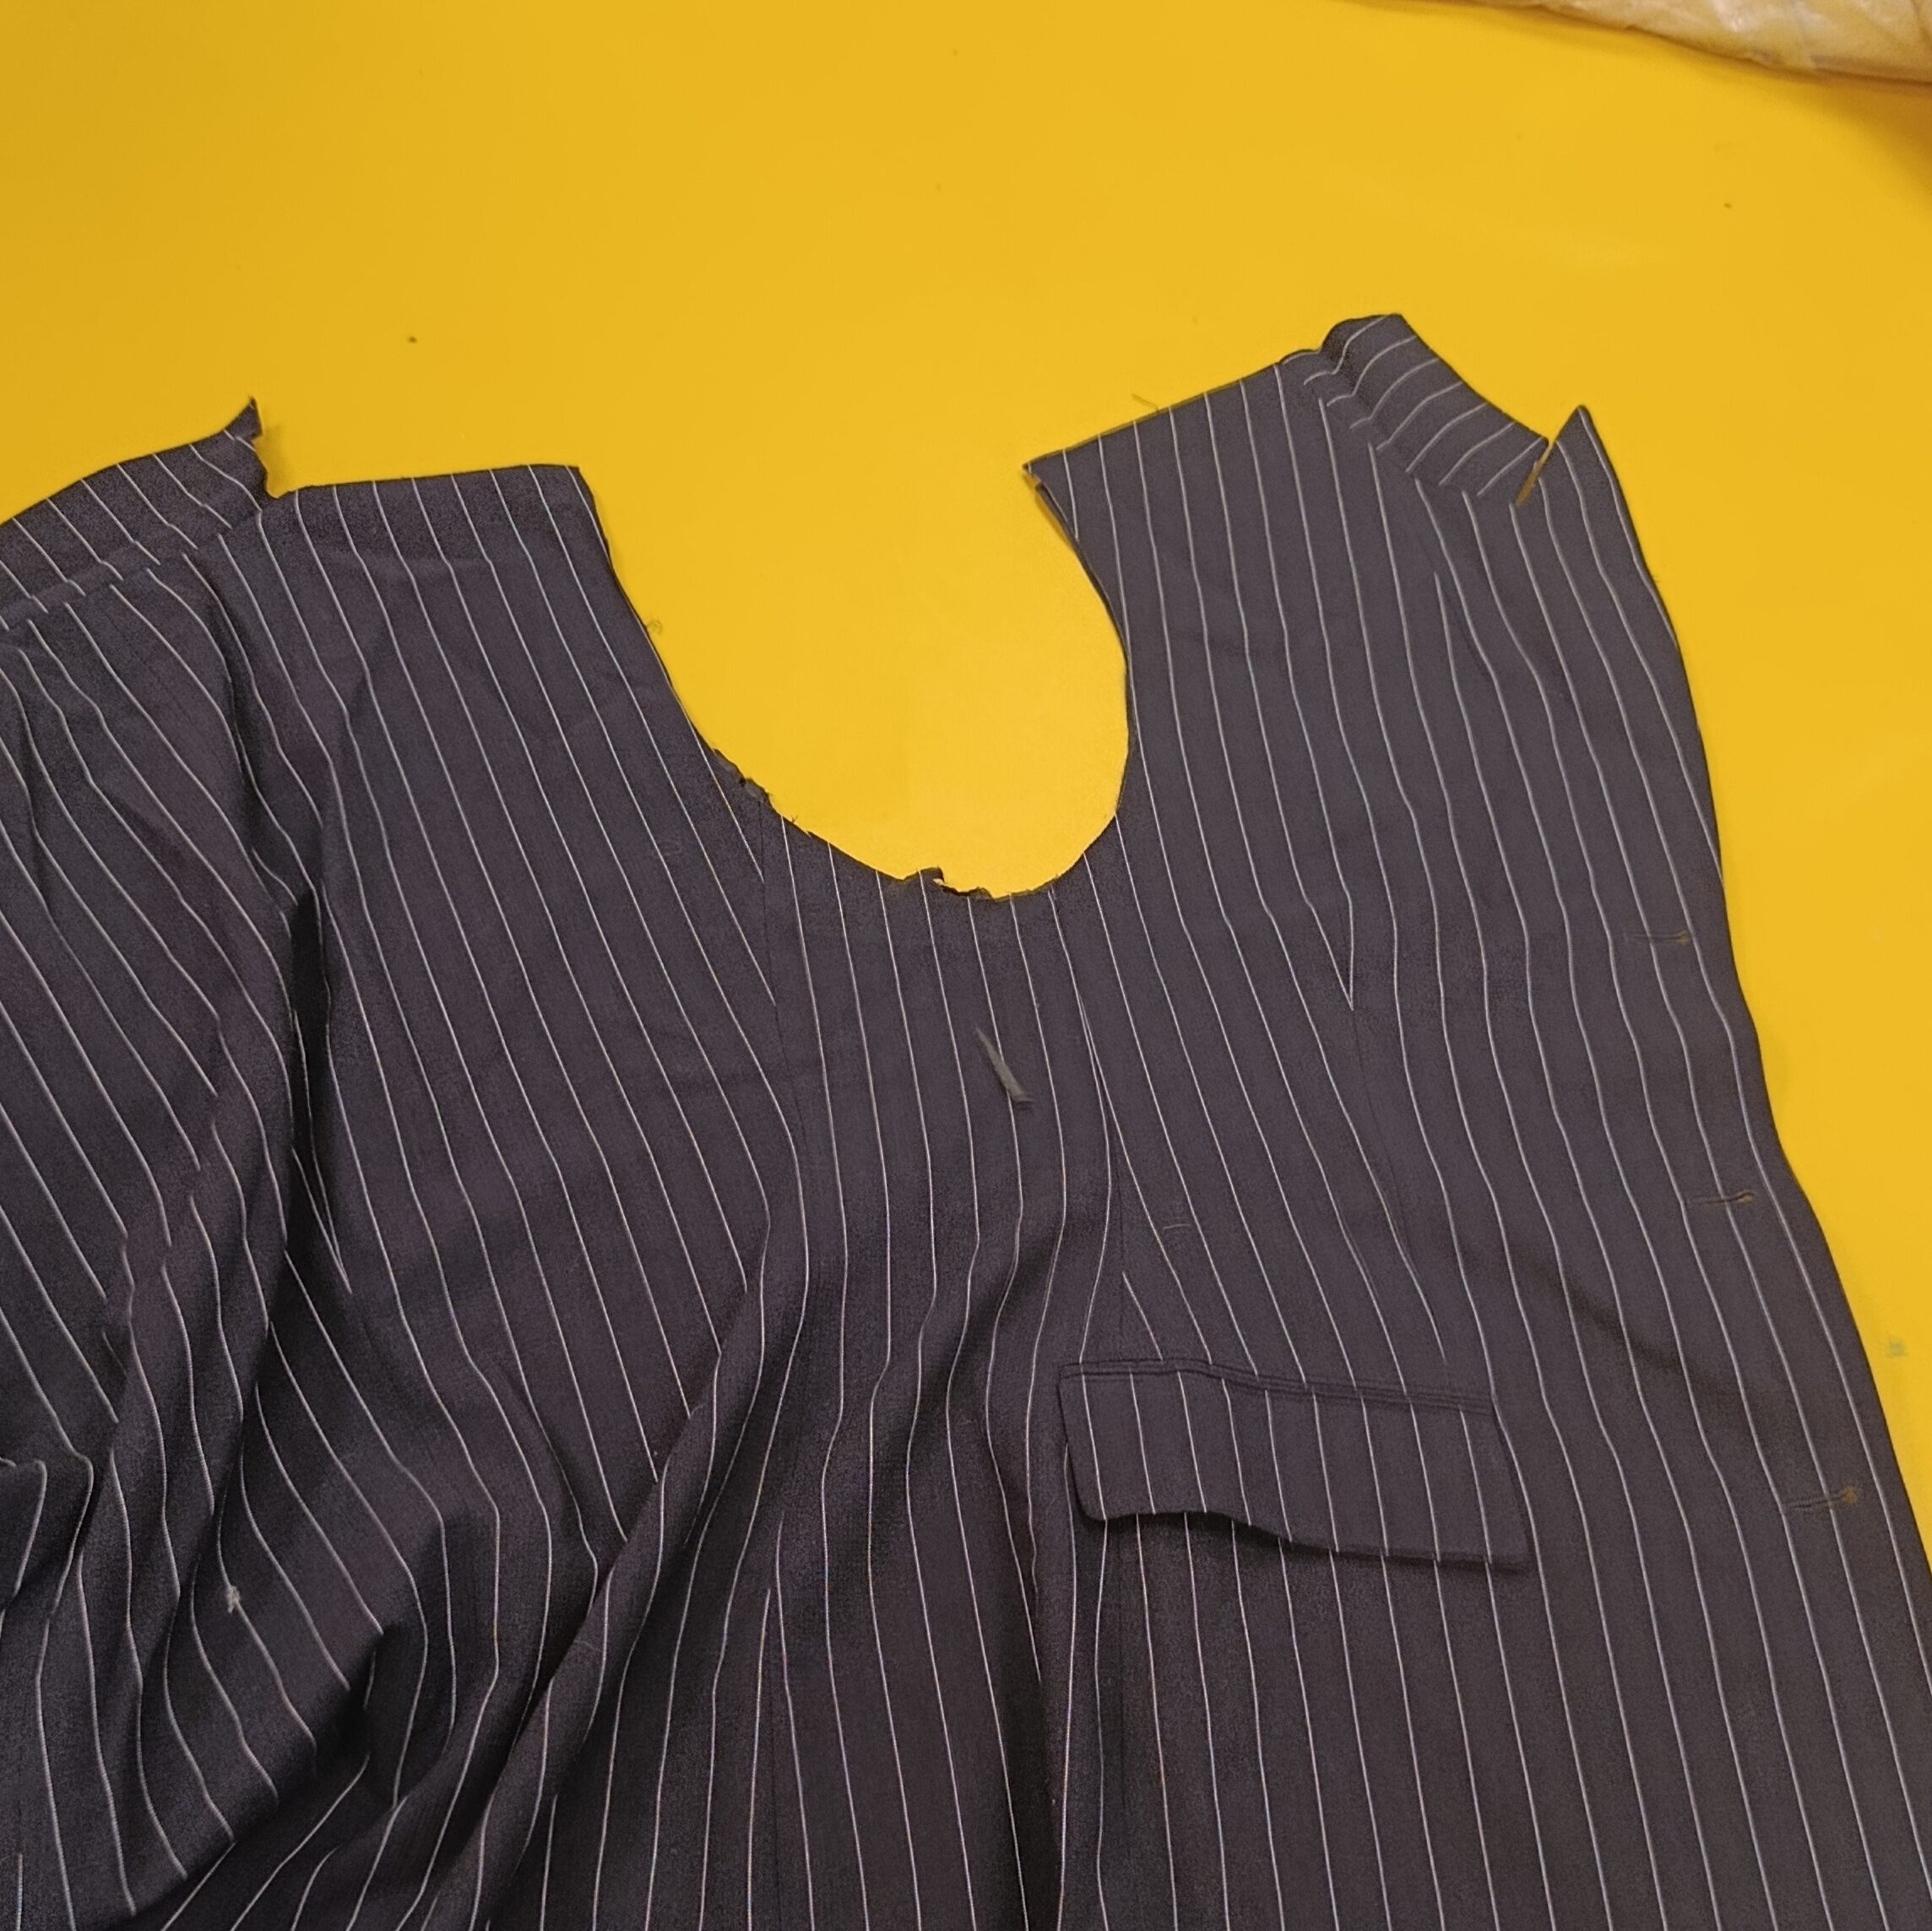
Now you cut the side seam. Try to cut the side seam so that the front and back panels are evenly split.
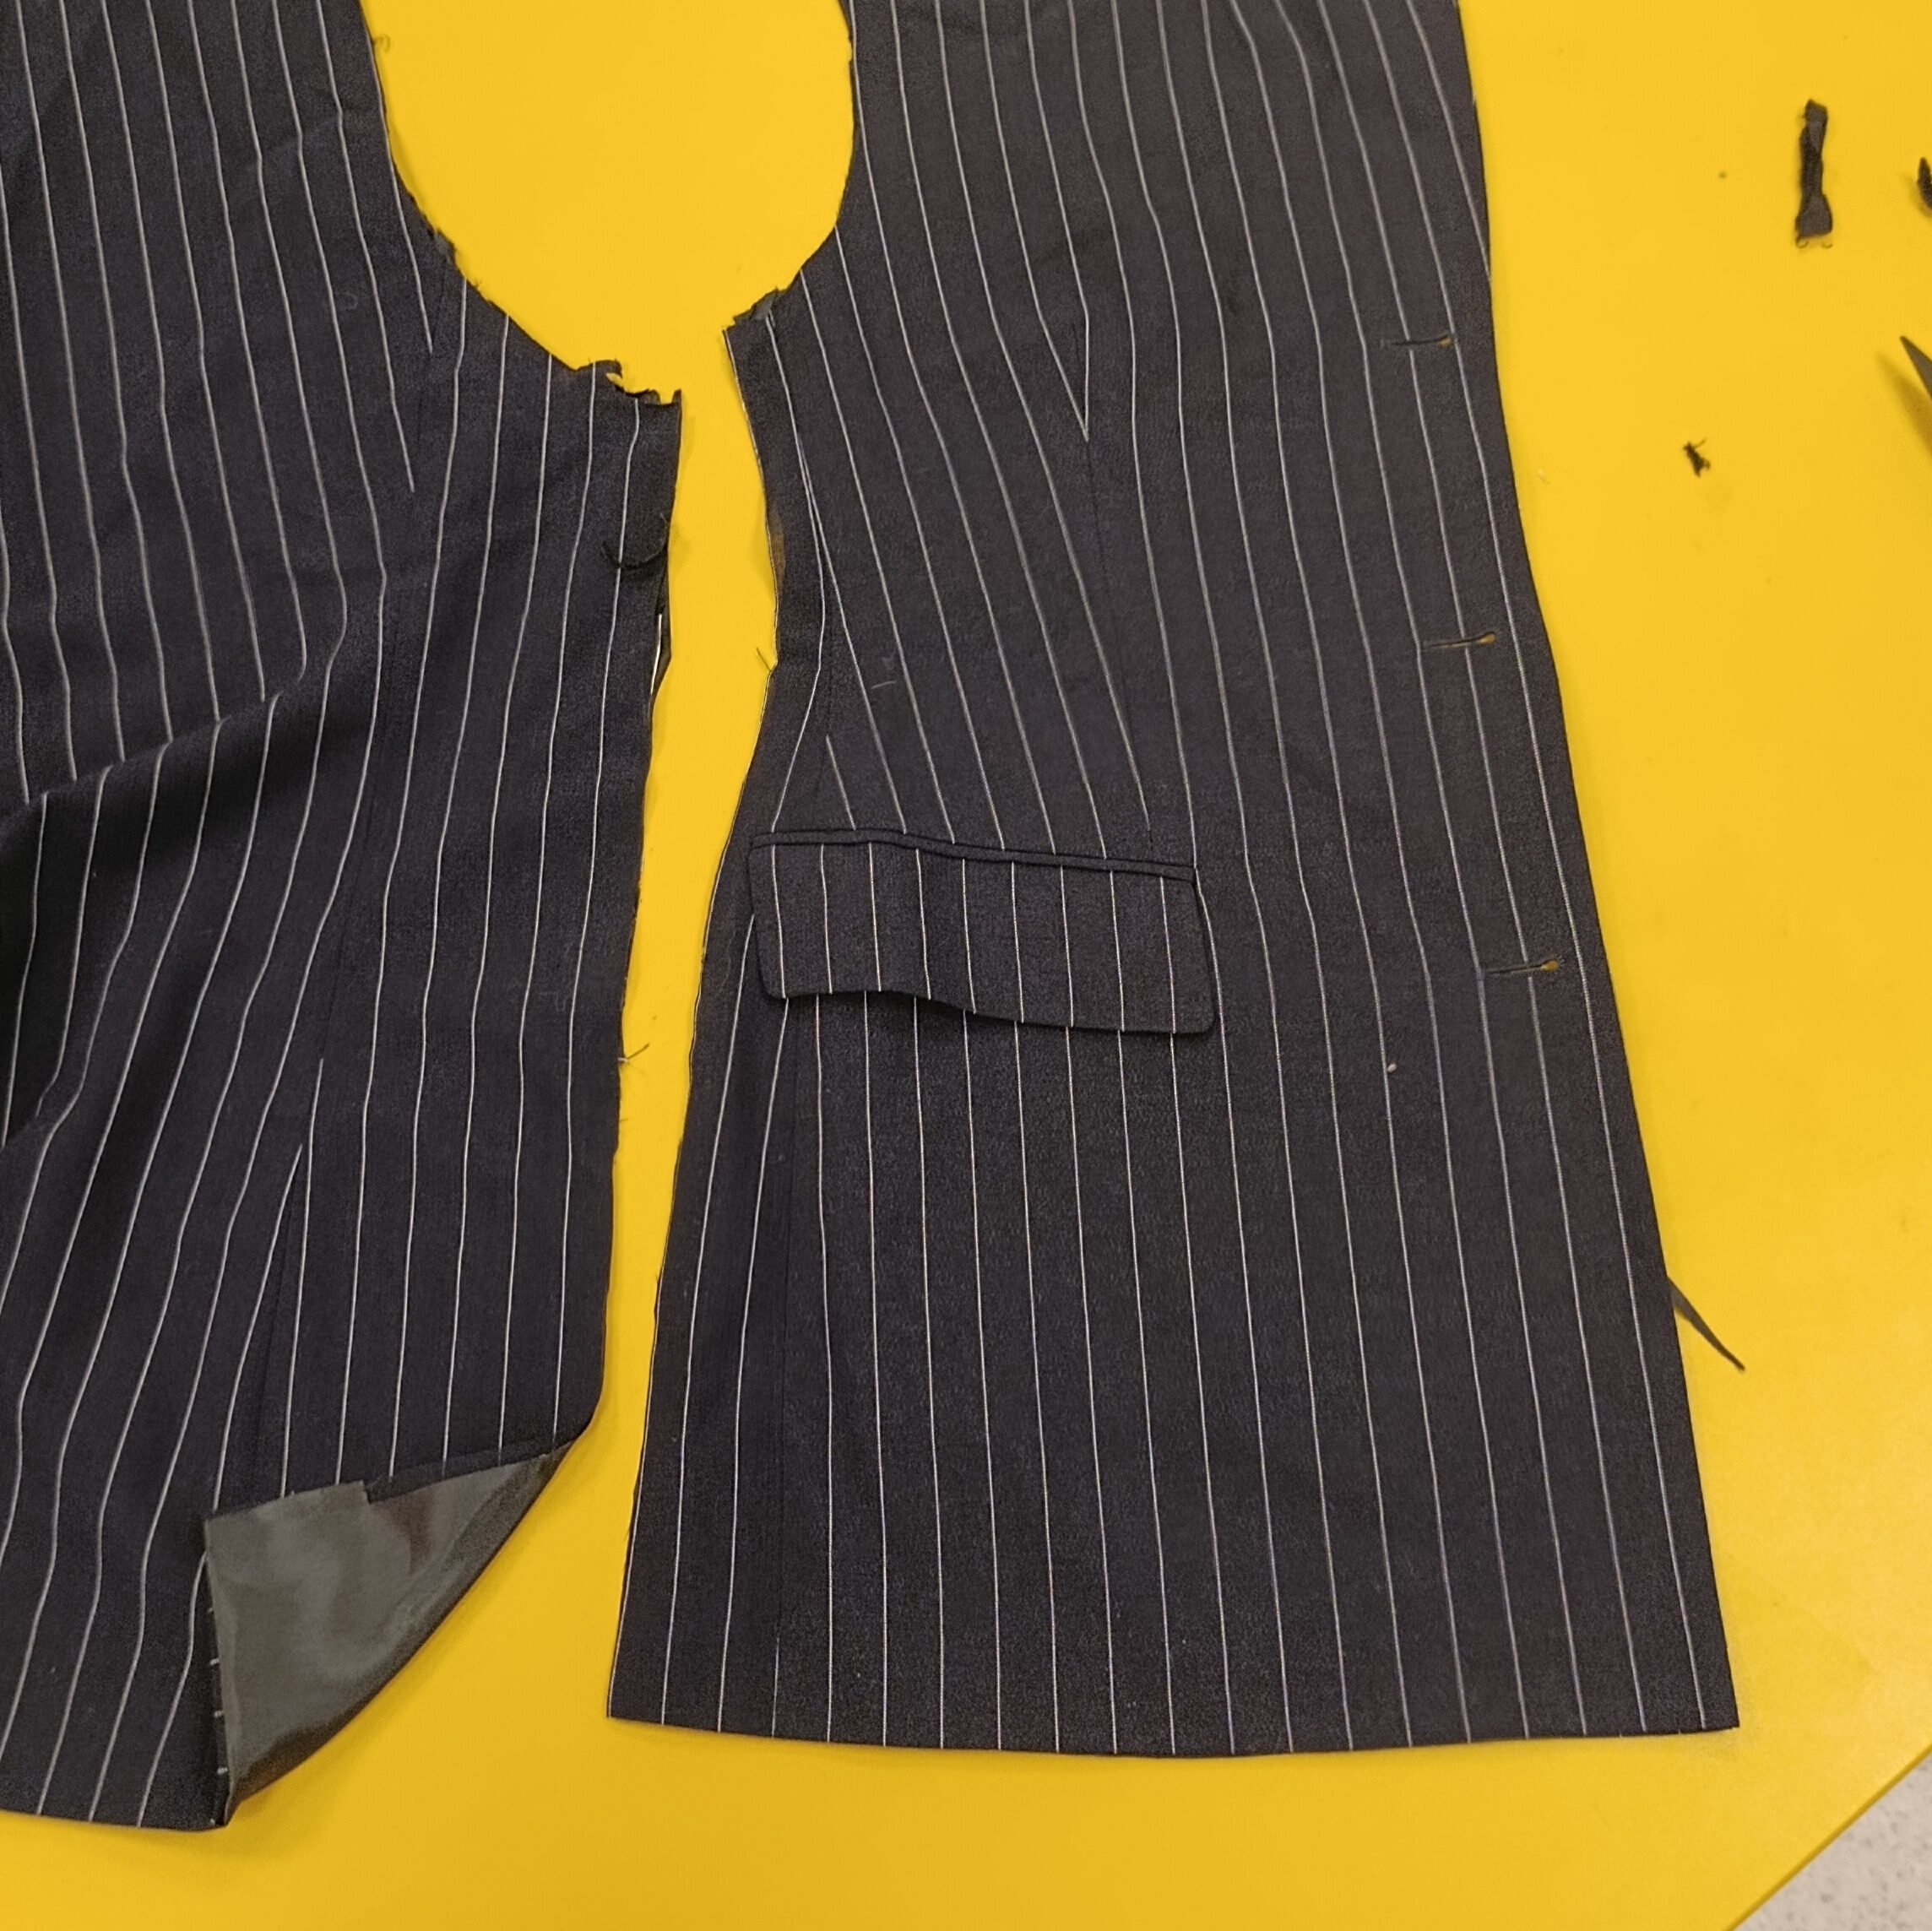
Now you just have just have to split the back and/or front evenly the same way you did the side seam.
Marking all necesary information
Now we’ll make the modules ready to be sewn. First well mark the length of the pieces and cut them. Then we’ll mark where the tape and the pushbuttons need to come. These markings are very important so that all the modules align correctly.
You can download the basis pattern on this page.
So first we’ll put the basis pattern for the piece you want to cut, I’ll start with the top front piece, on top of the second-hand piece you’ve already cut.
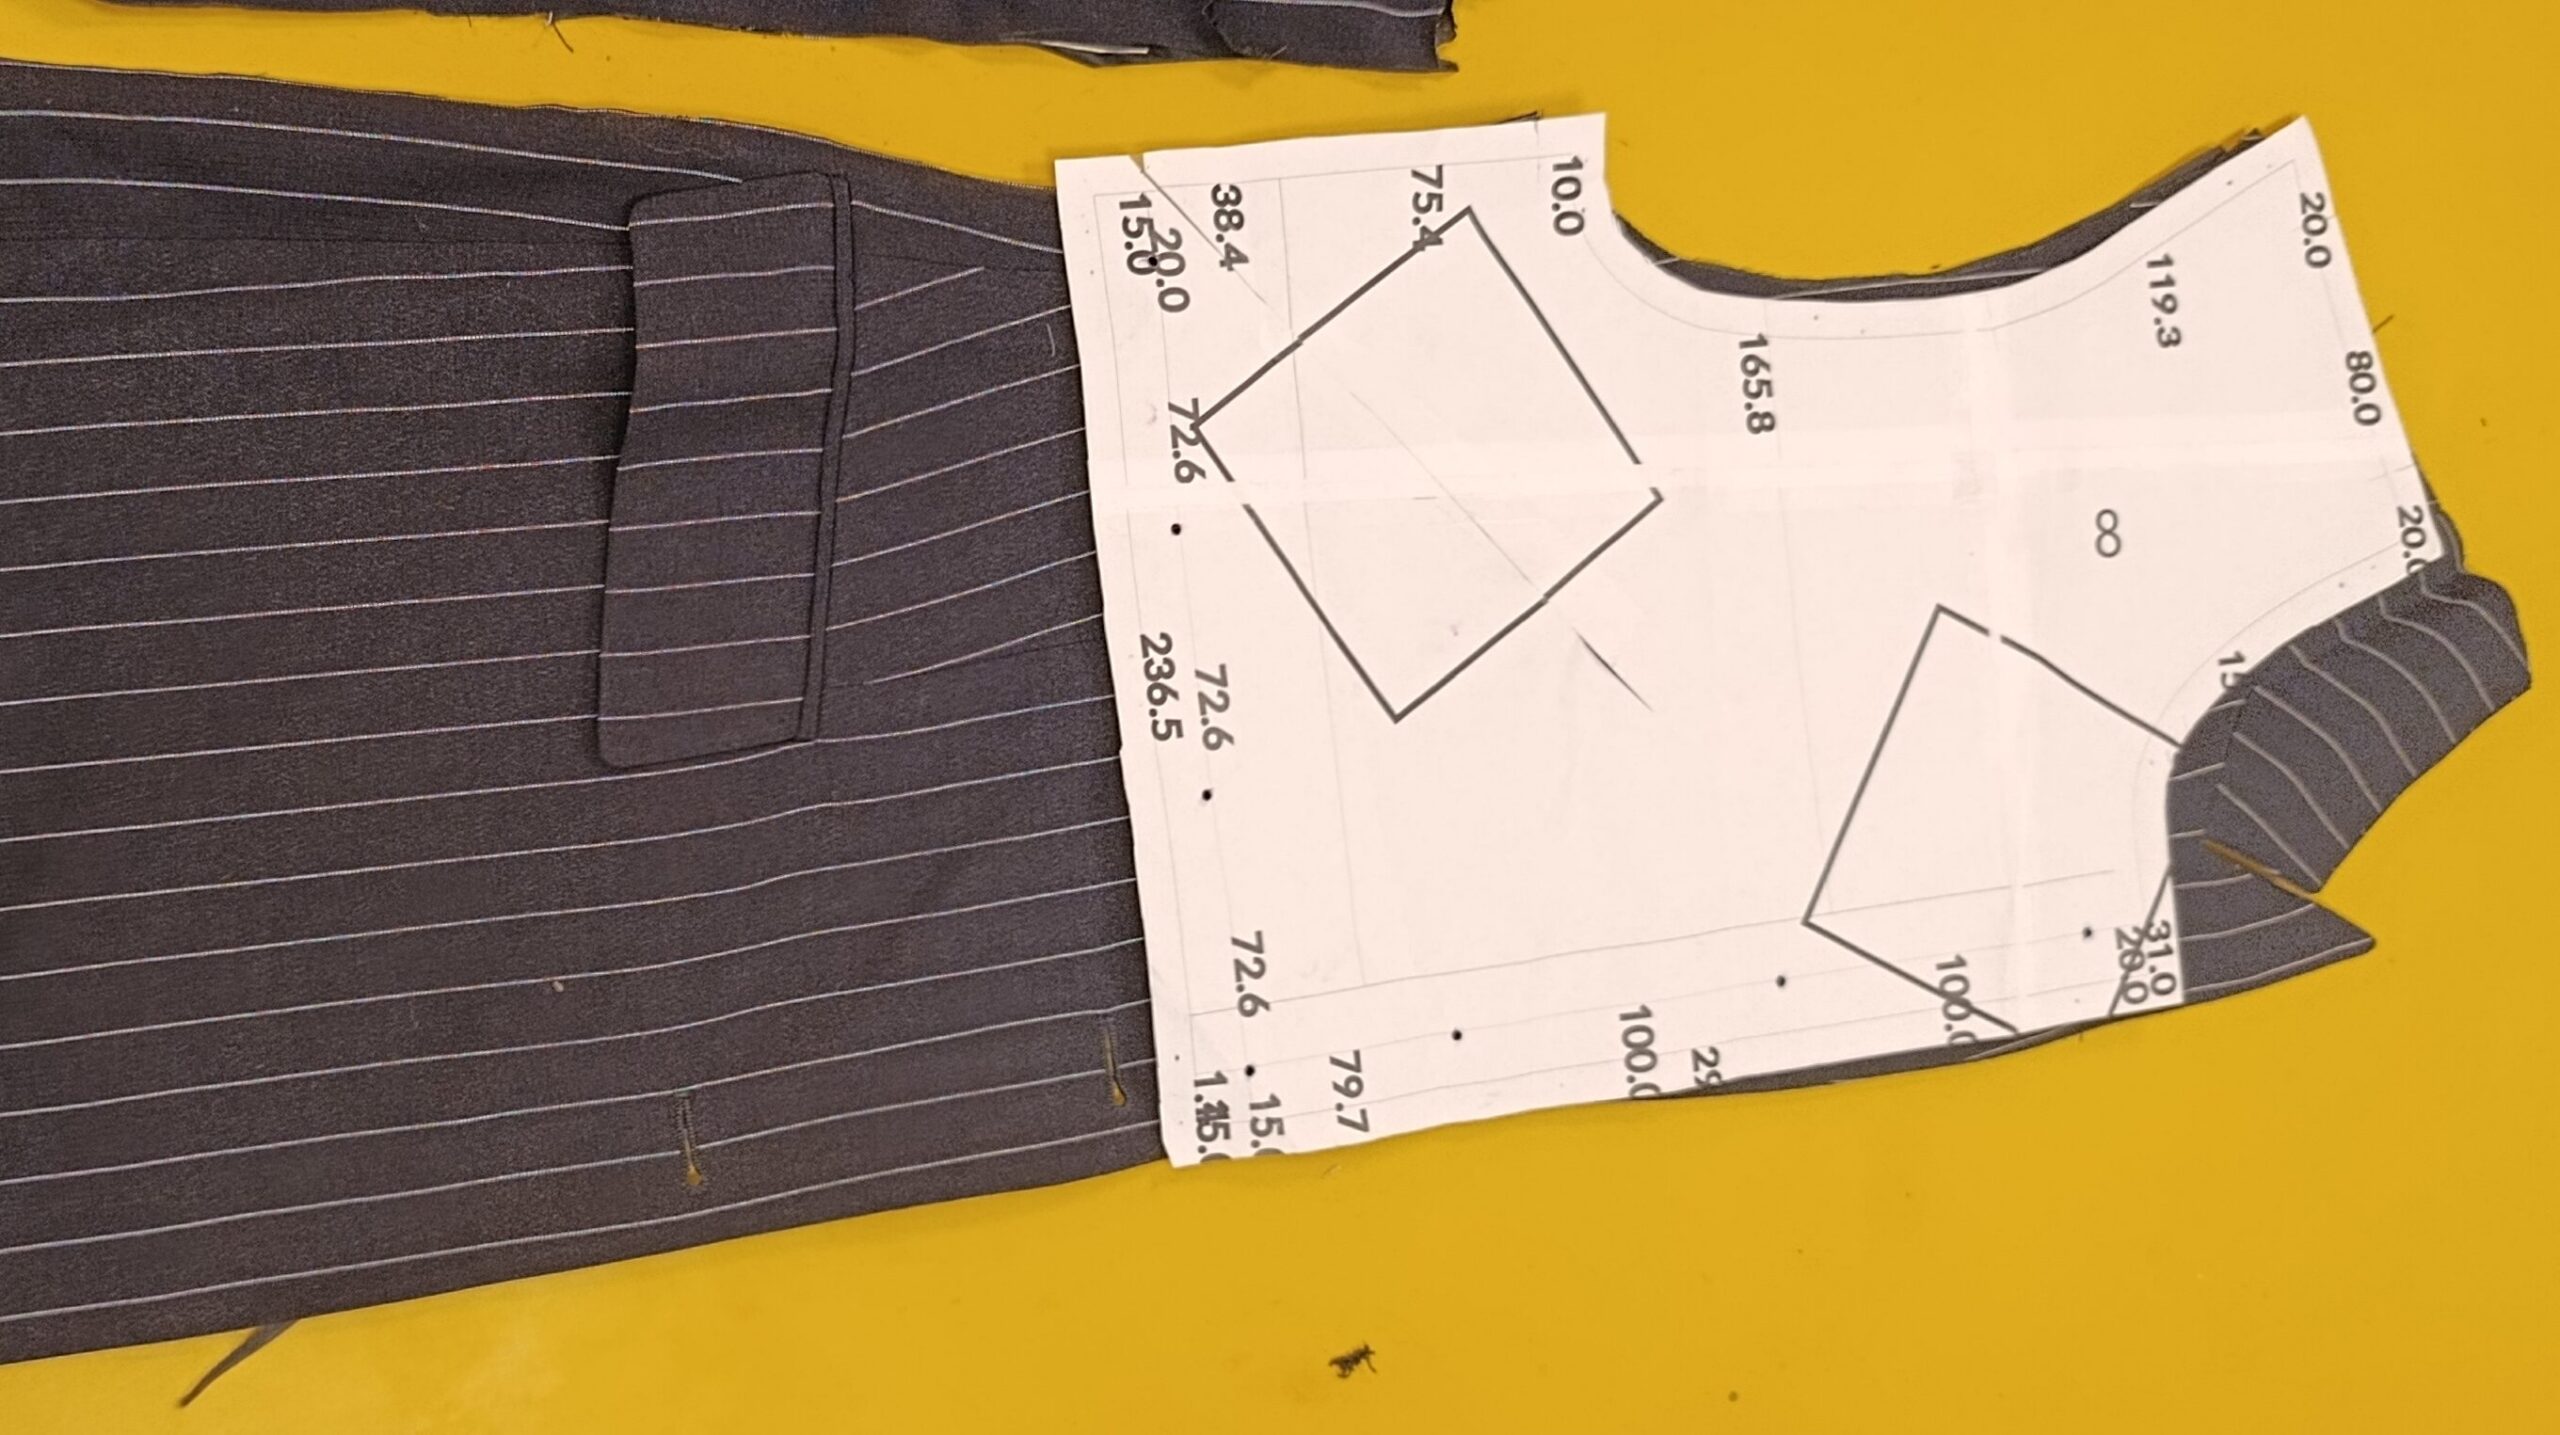
Now you can mark all the points and cuts for the pushbuttons and the tape. If the pattern does not align properly it’s best to align the shoulder separately and then align the bottom of the armhole with the pattern and then mark the buttons. Now you can also cut the piece to the right length of the pattern. If you want the piece to be longer you need to align the bottom front as well and mark the buttons and tape, you don’t need to mark the buttons that are horizontal as those are for attaching the bottom to the top piece.
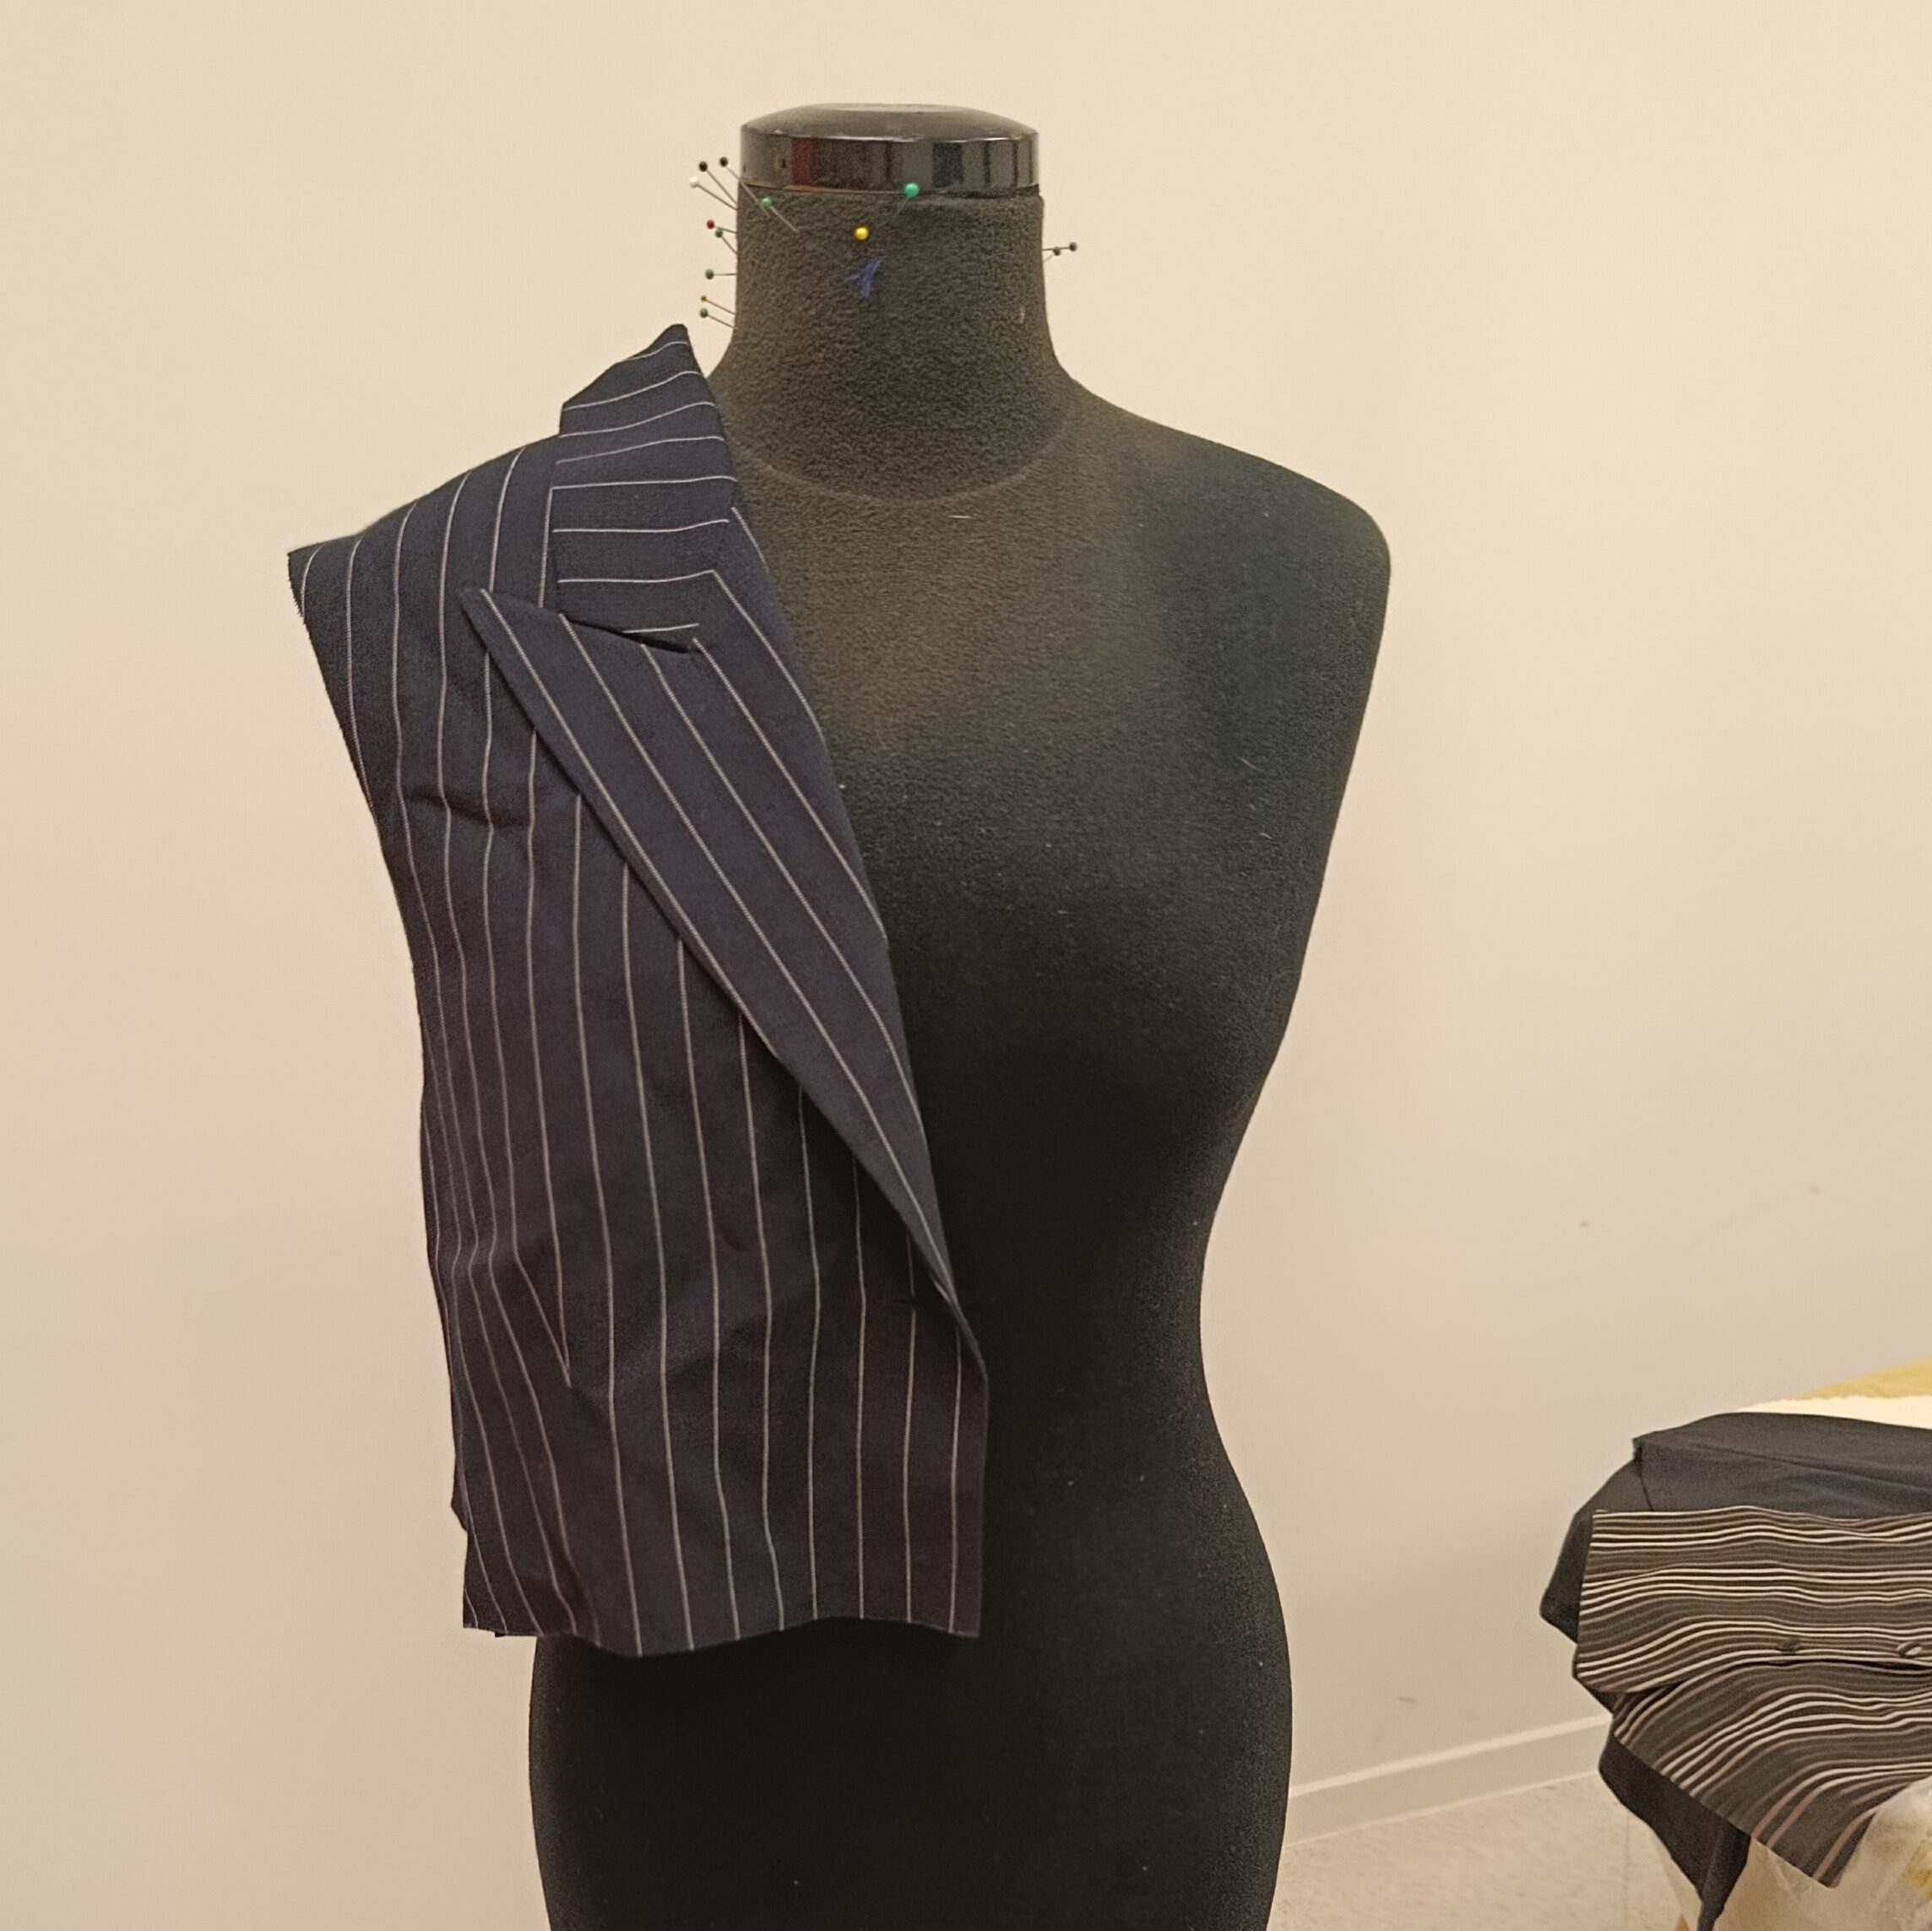
It should like this before adding the tape and push-buttons. I’ll explain how to do those in the next part.
Leave a Reply